


April 29, Sealing of the roof is complete using a
product called Through The Roof a clear silicon based sealant that can
actually be applied to wet surfaces was used to seal all seams along the edges
of the roof. The clear is nice in that it doesn't take away from the white
aluminum camper shell. An aluminum based roof coat was used to seal the entire
surface of the roof. The roof coat goes on easily with a paint roller
and turns out looking great. The aluminum sheen will help to beat back the sun
and help keep the camper cooler in summer. The roof was in pretty good original
shape with only a couple sq. ft. of tar type roof coating near the roof vent and
seams where the galvanized steel of the roof meets the aluminum camper shell.
The original roof is galvinized steel with baked white enamel. This surface was
swept off before applying our aluminum roof coat. Yes, aluminum roof coat can be
applied to steel it bonds nicely. The aluminum composition in the name is whats
deceiving, read the labels when purchased for your particular application. The
roof has seen a couple of rainfalls now and no leaks. We will give it the
old garden hose test once we are finished replacing the long over the cab window
which we removed to replace the studs it was attached to and to get a good seal
when it is reinstalled. The clearance lights will also be removed and resealed
along the front of the camper as the Butyl tape behind them is like rock after
baking in the sun for almost thirty years. Butyl tape will be used as a backing
to reattach the markers as well as the window over the cab.
A couple trips to the salvage yard payed off big time in order to refit our
camper which had been stripped of all utilities and appliances. A donor popup
provided us with a 13 gal. fresh water holding tank and an AC/DC converter which
will be used to run the DC interior lights, DC exhaust fan for
cooking and 12V fresh water pump when we have access to AC power onsite
instead of draining the batteries. We purchased the exhaust fan/hood on eBay
still new in the box which is from the same vintage as the camper and looks
and works great. A donor camper van provided us with a small stainless steel
sink, 12v water pump, AC/DC Norcold refrigerator, nice small footprint Suburban
propane heater, take down dining table and Fuse panel for additional batteries
quite a haul all for $80.
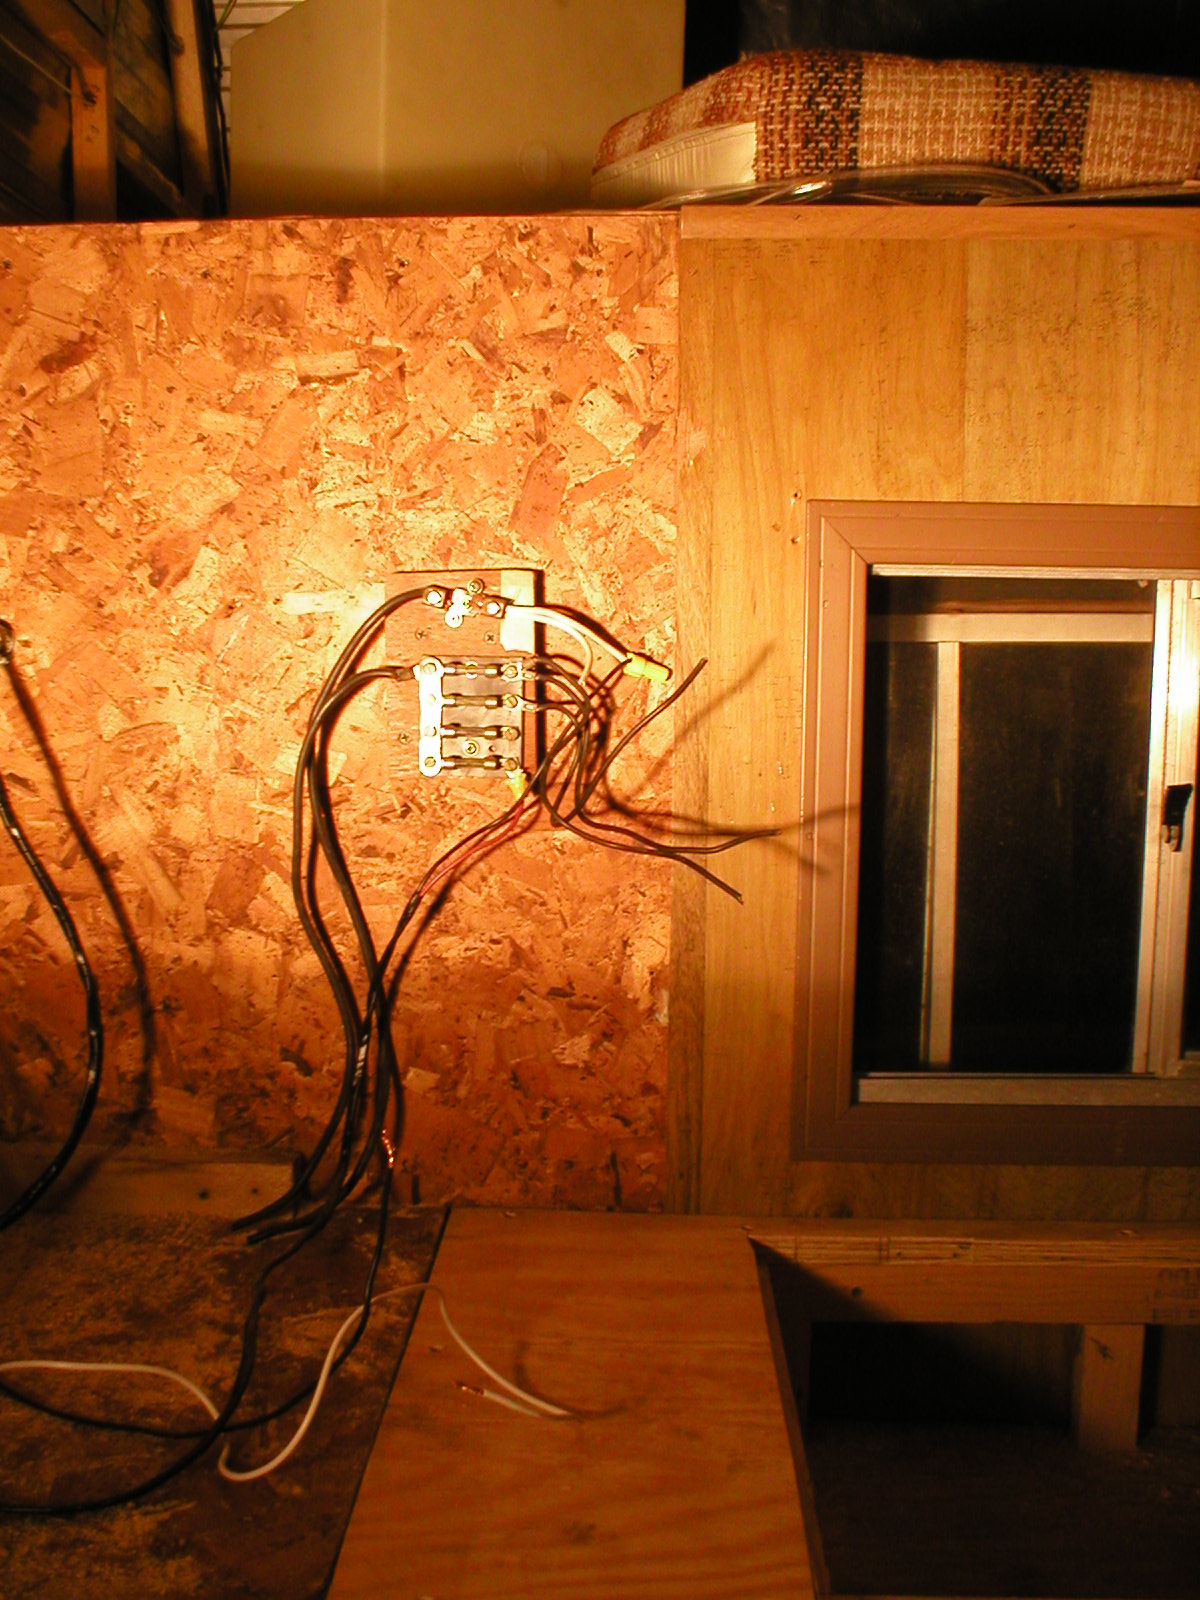
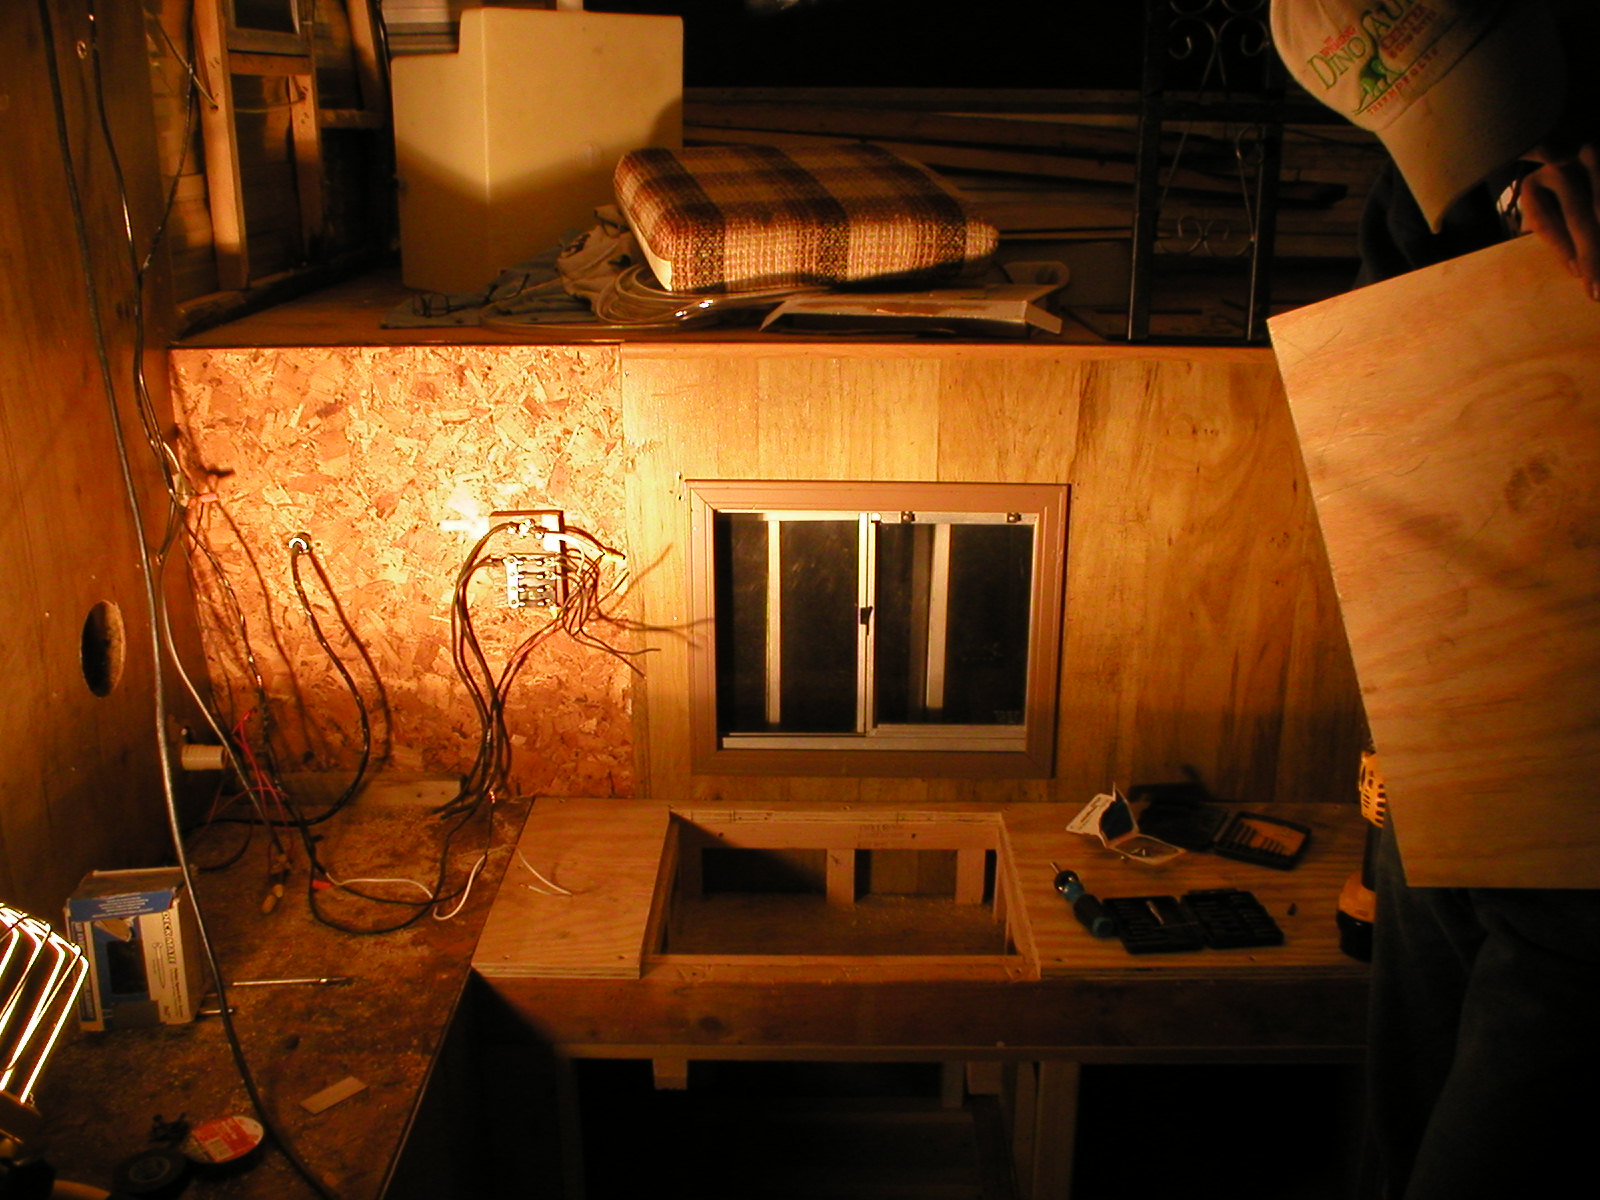
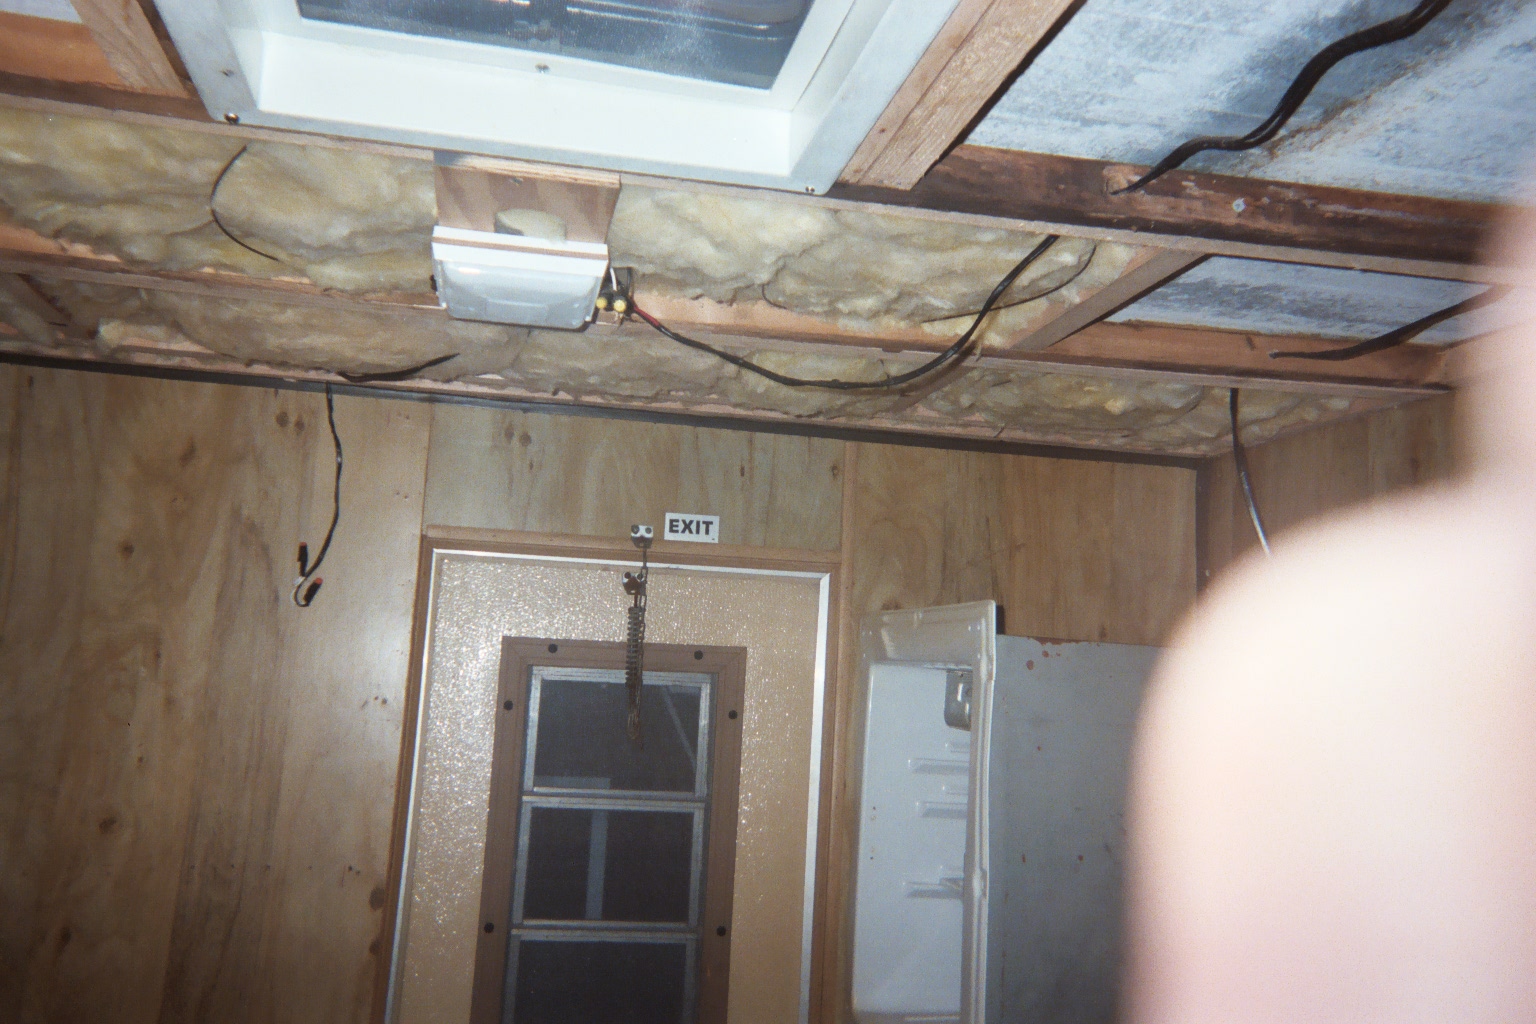
Work continues on
rewiring the interior of the camper most of which is overhead runs. This is
being done before we reinsulate and repanel the ceiling and offers us the chance
to check for any leaks so our new ceiling will not be ruined. Wiring DC
circuits we chose to use 14 guage stranded for interior lights, exhaust fan,
porch light, a circuit for planned AM/FM/CD stereo and 12V fresh water pump. 10
or 12 gauge stranded wire will be used for the refrigerator and propane furnace
respectively. All circuits are hand wrapped with electrical tape instead of wire
looms. Turned out much cleaner and takes up less
space.
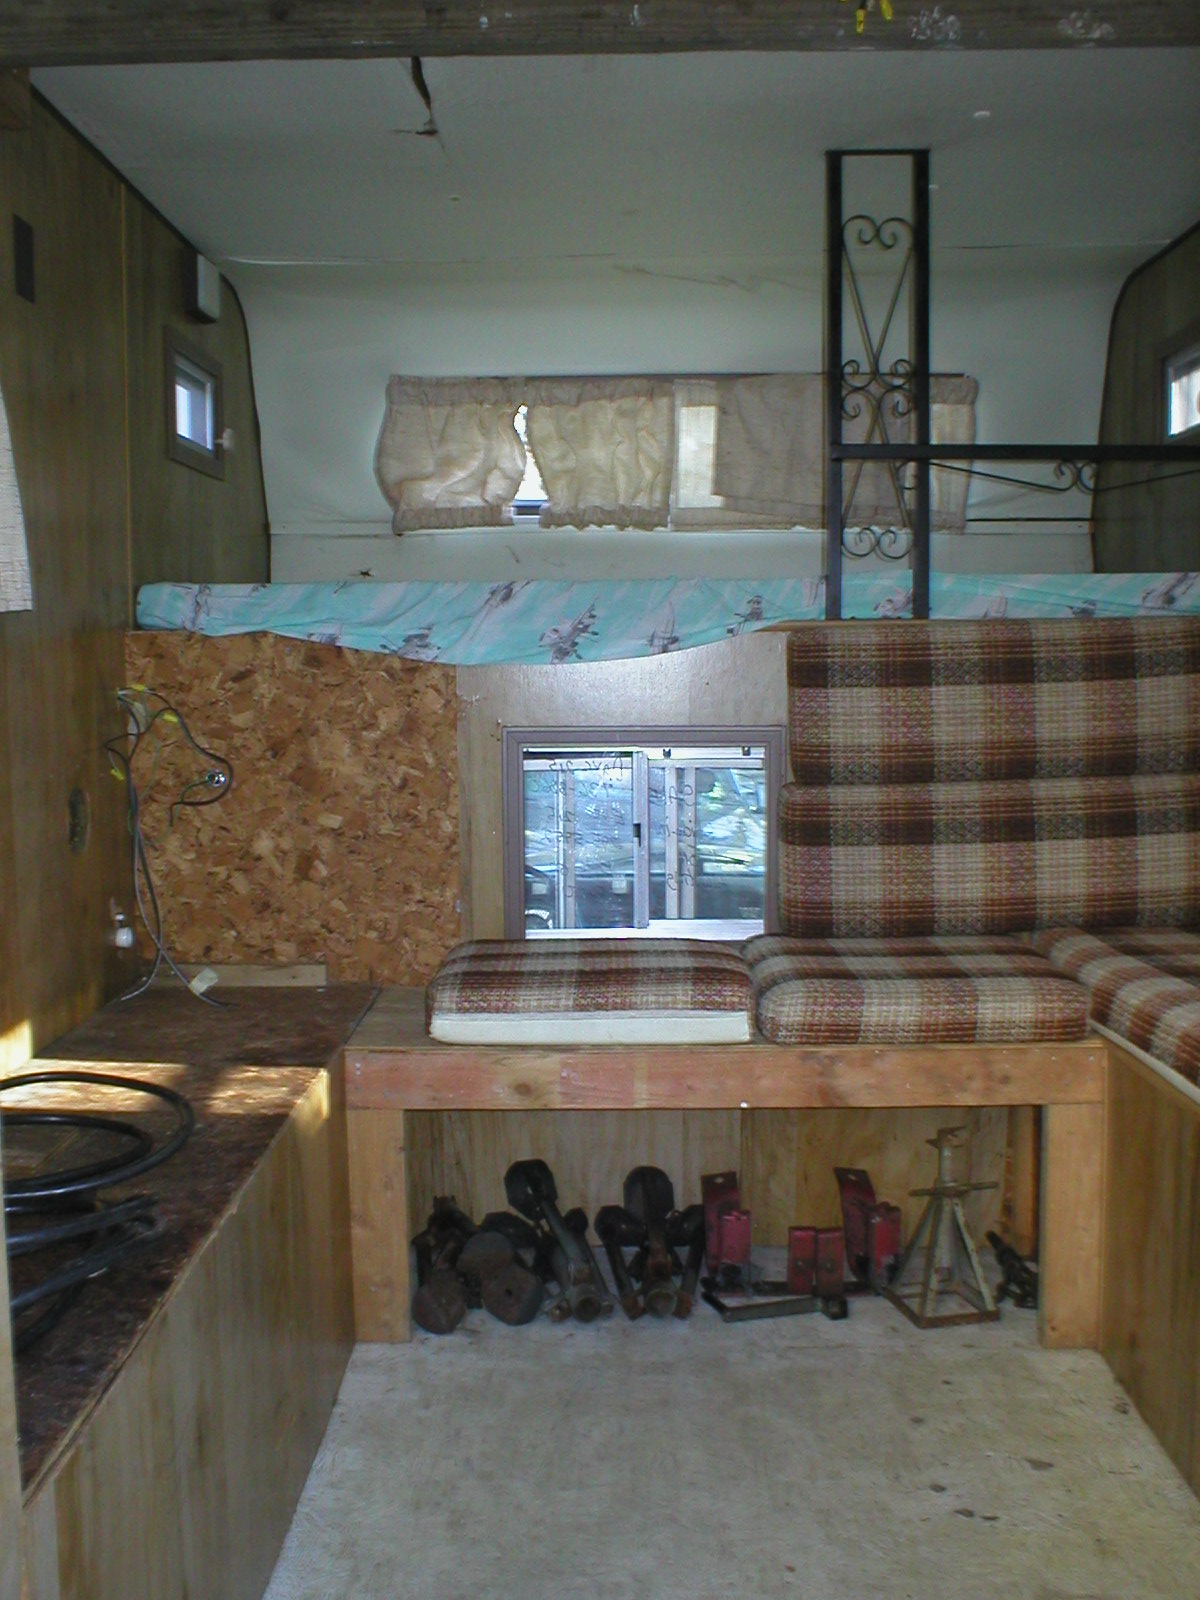
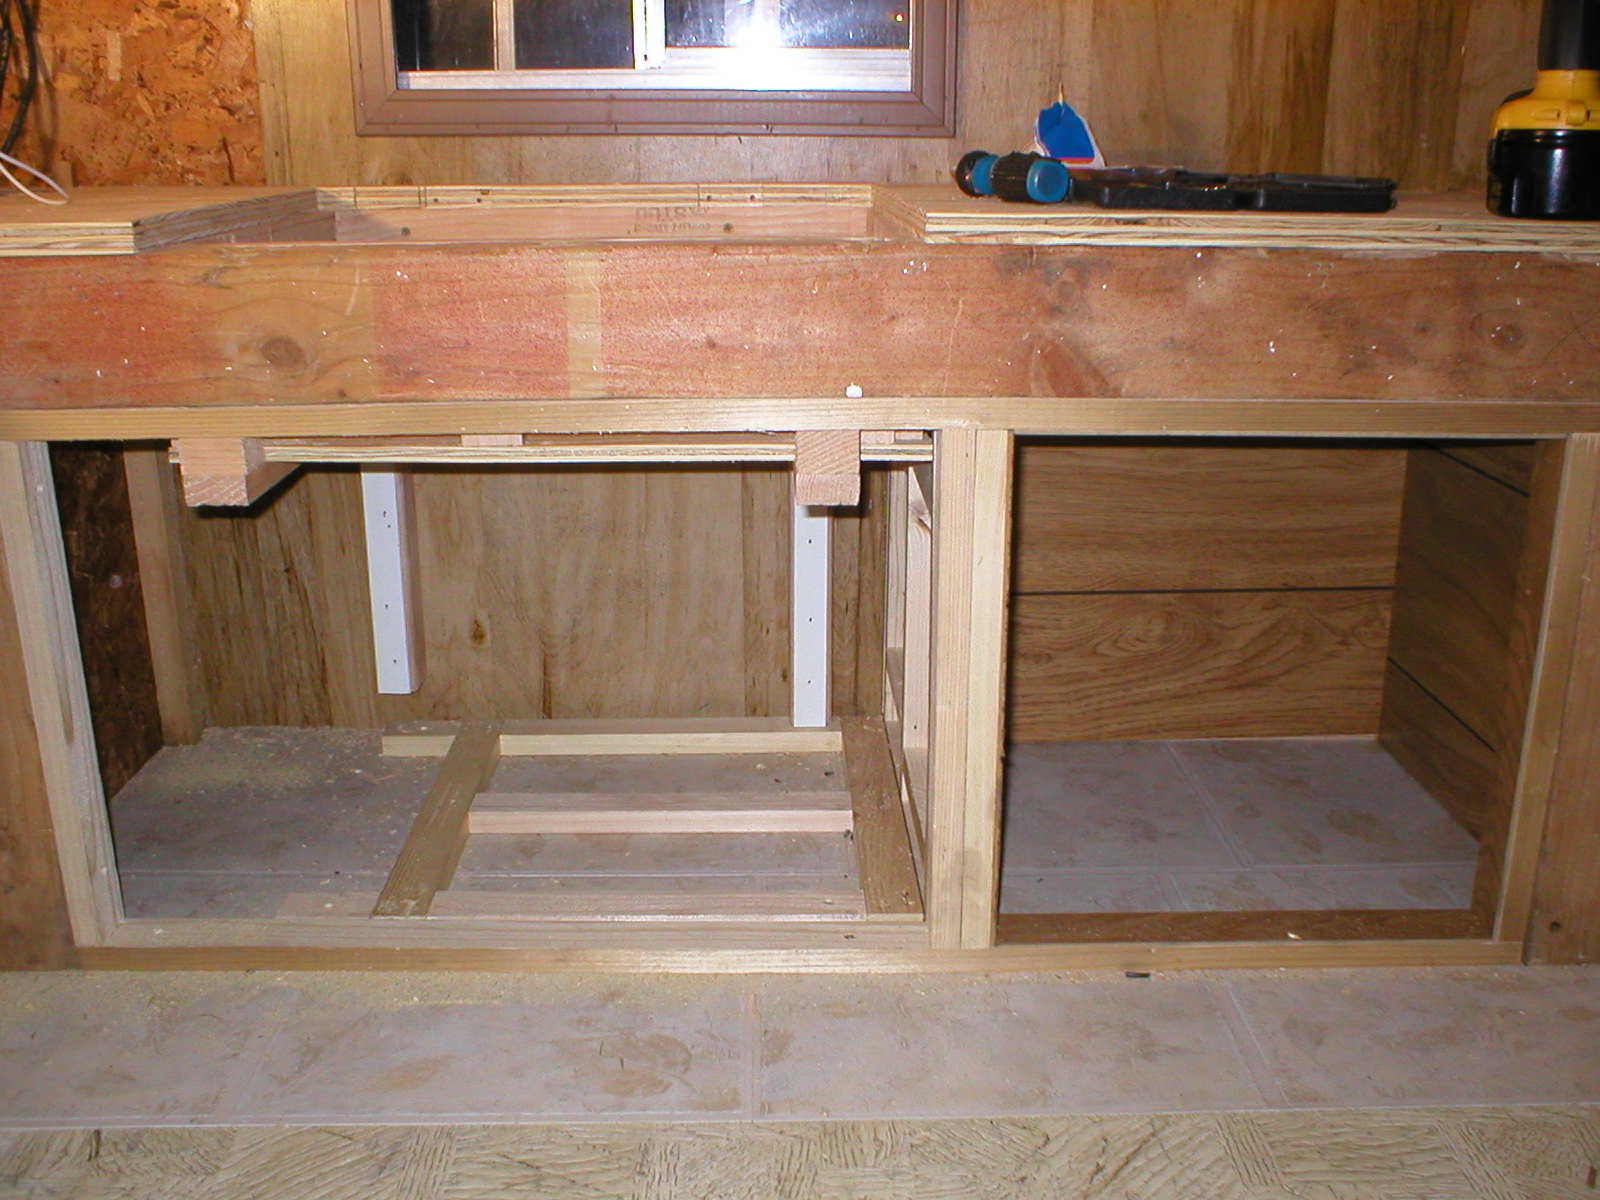
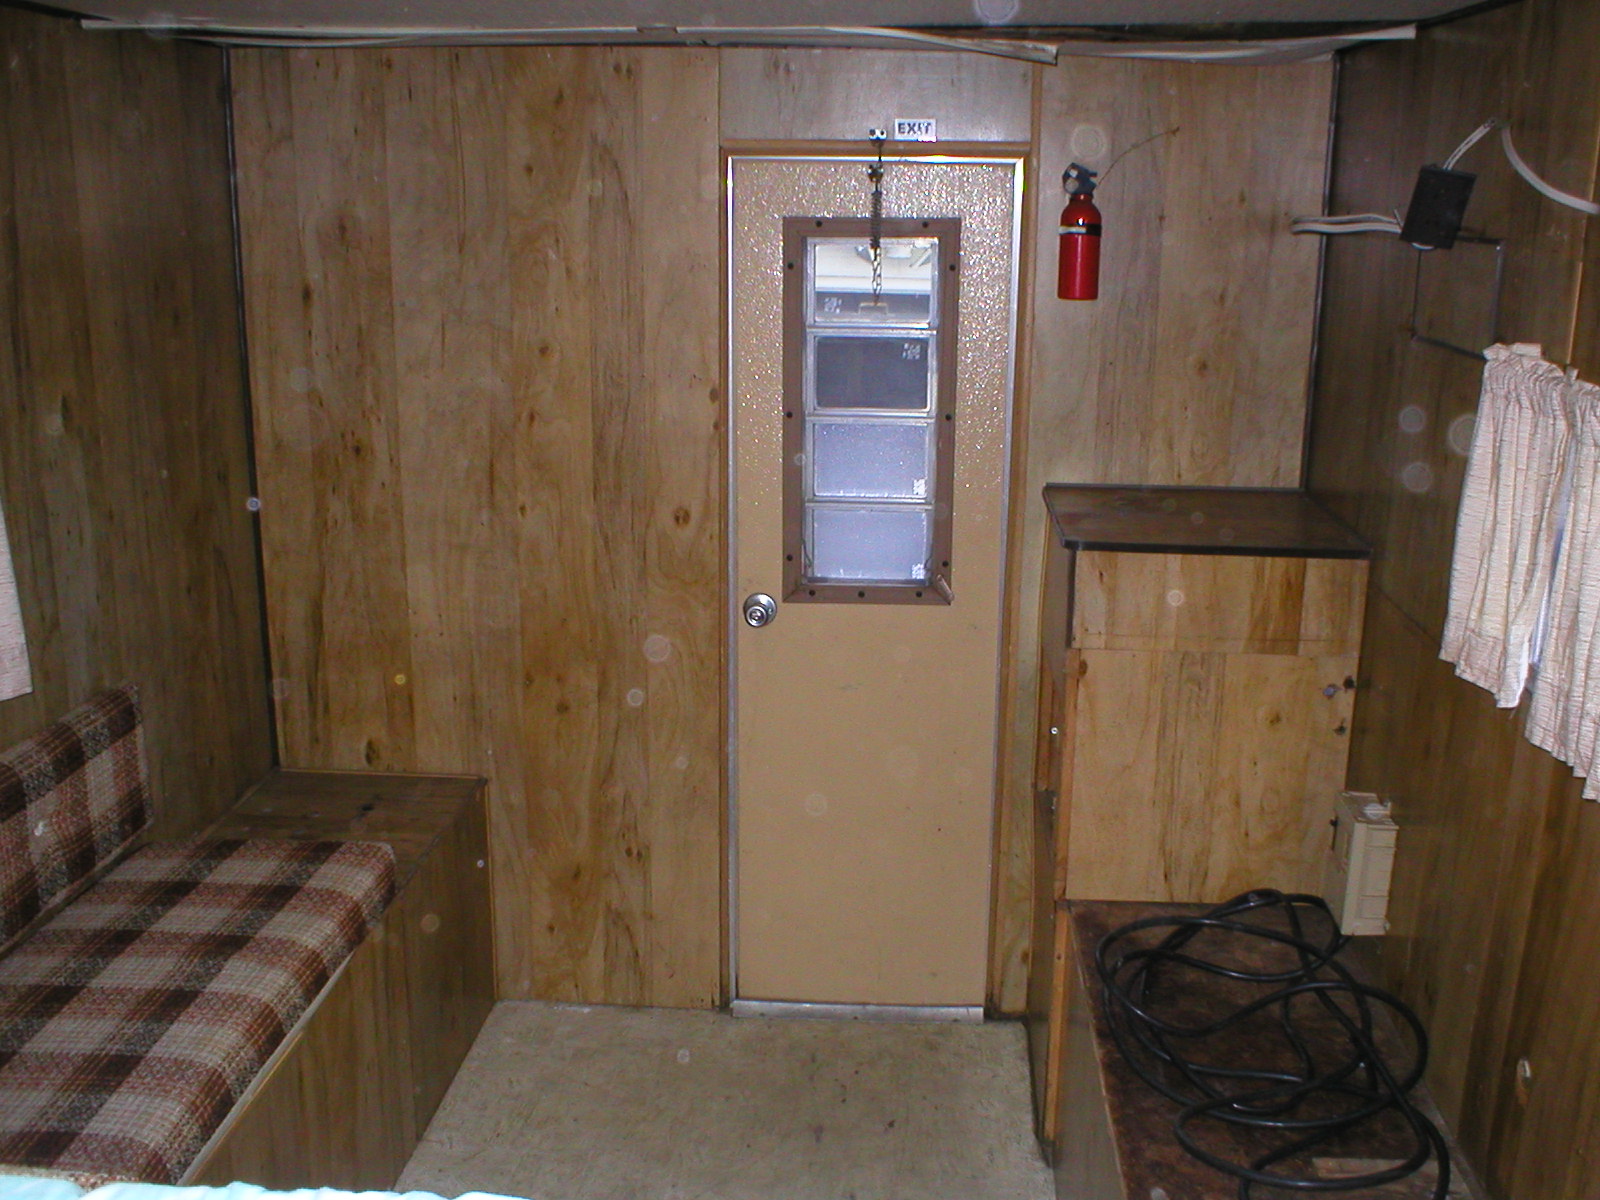
Mark Jr. started framing the fresh
water holding tank compartment which is also comprised of some additional
storage and doubles as a step to the top bunk. Mark constructed this by
ripping 1x2 framing from 2x4 stock then utilizing 3/4" ply for the step. The
cabinets and exterior are trimmed in paneling to try and match the exisiting
paneling. Before the cabinet was constructed Mark began to lay down new tile as
the original lenoluem was in need of repair. Mark chose peel and stick
tile with what happen to have a MapleLeaf design for the MapleLeaf
camper. Mark also installed the pedestal support for the dining table which
is a recessed design. This is nice so when the table is put away you are not
tripping over the support on the floor.
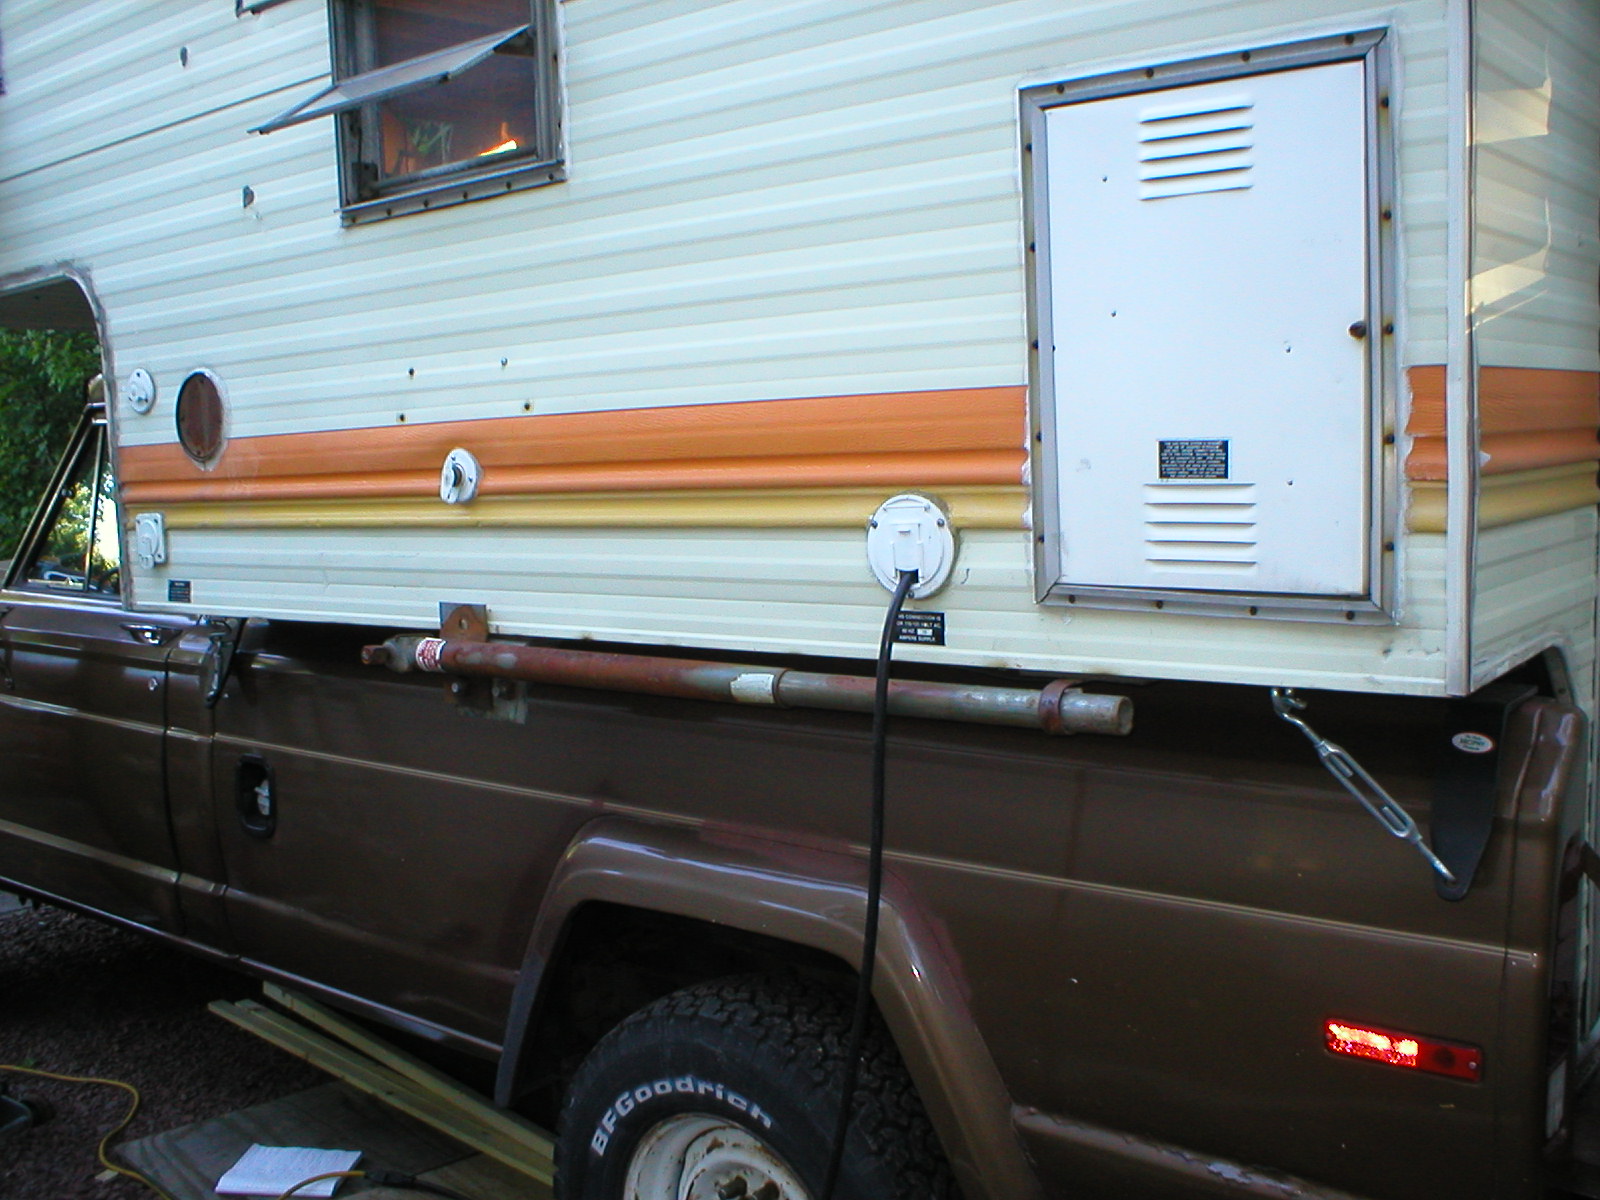
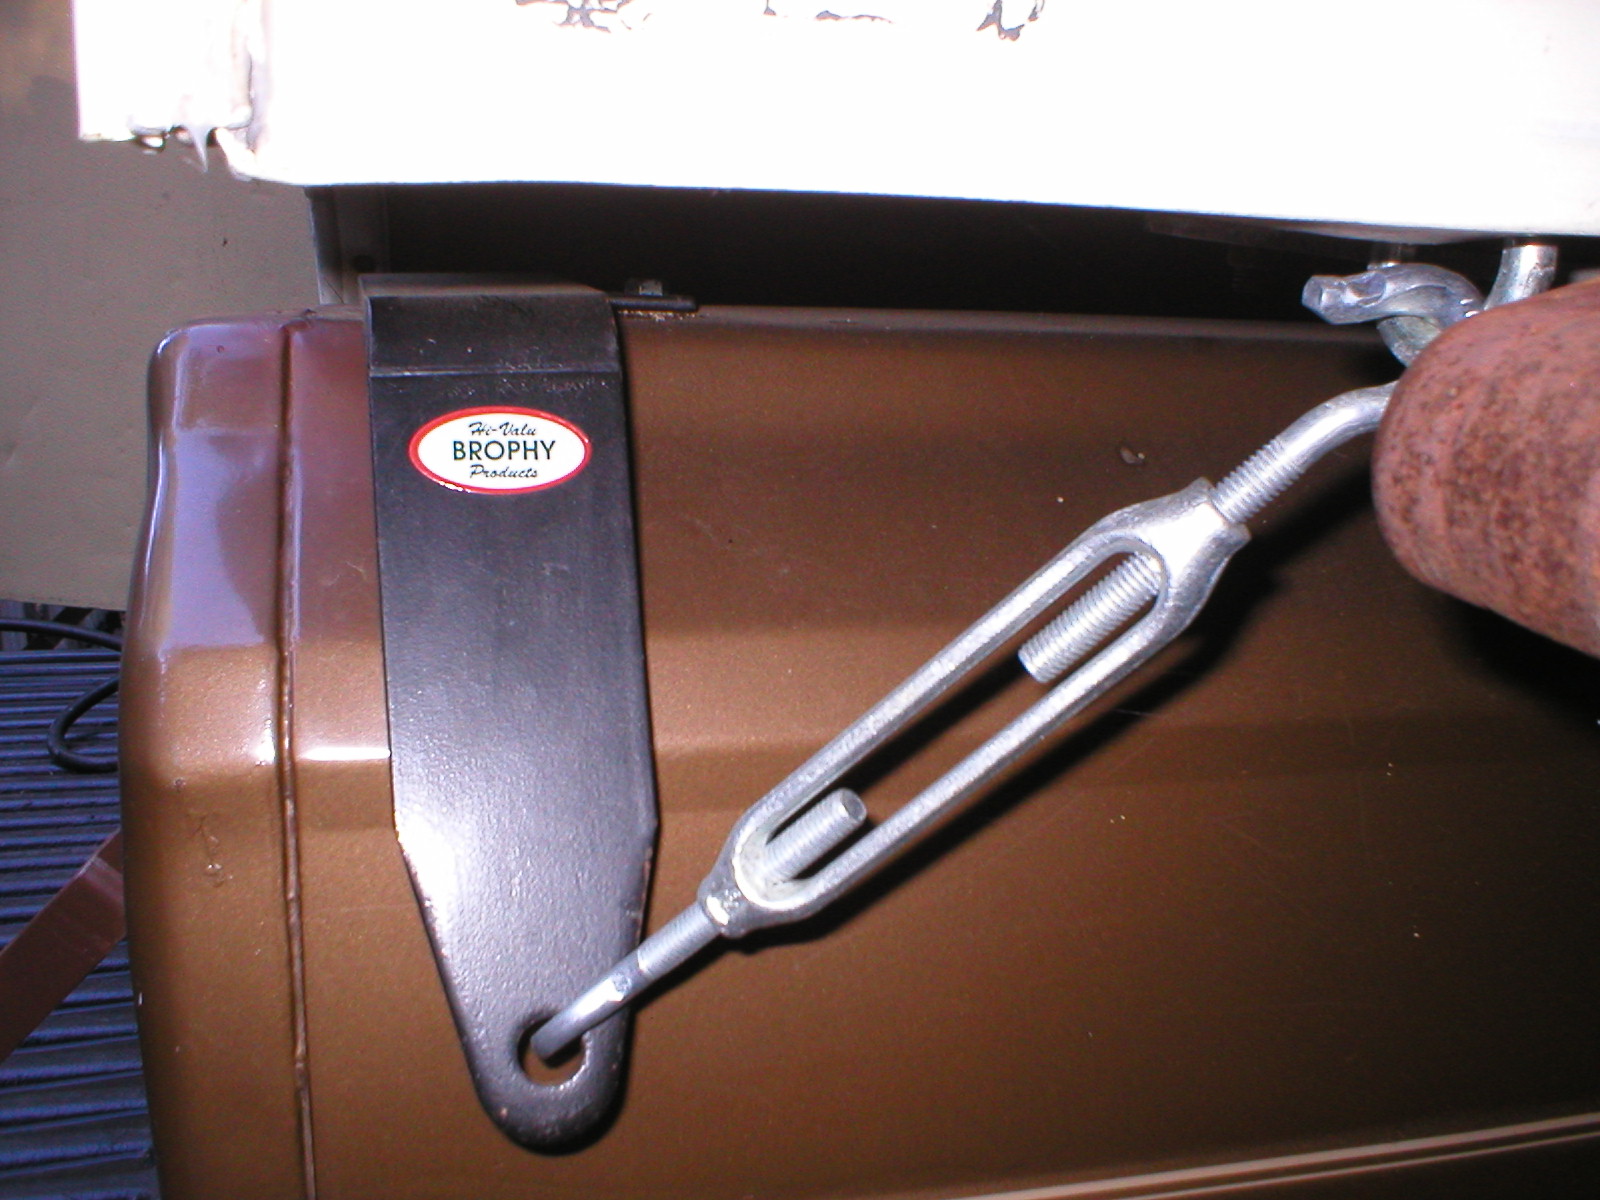
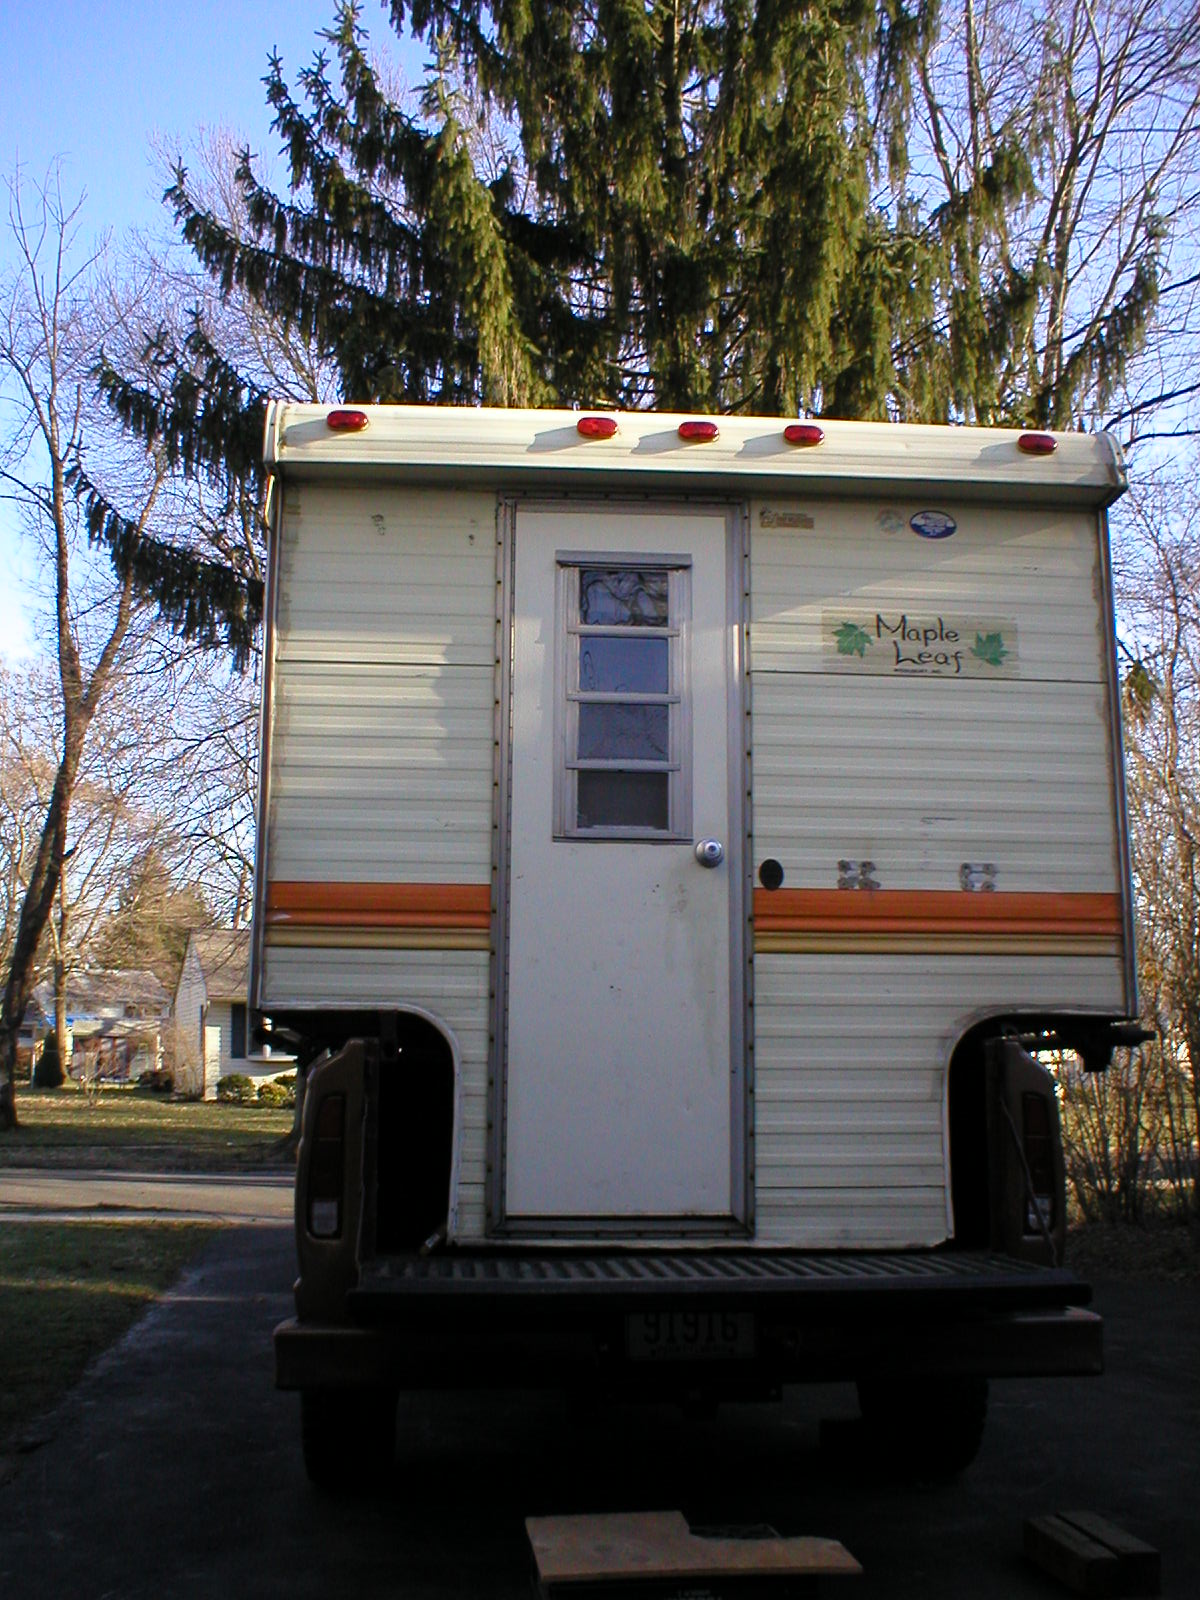
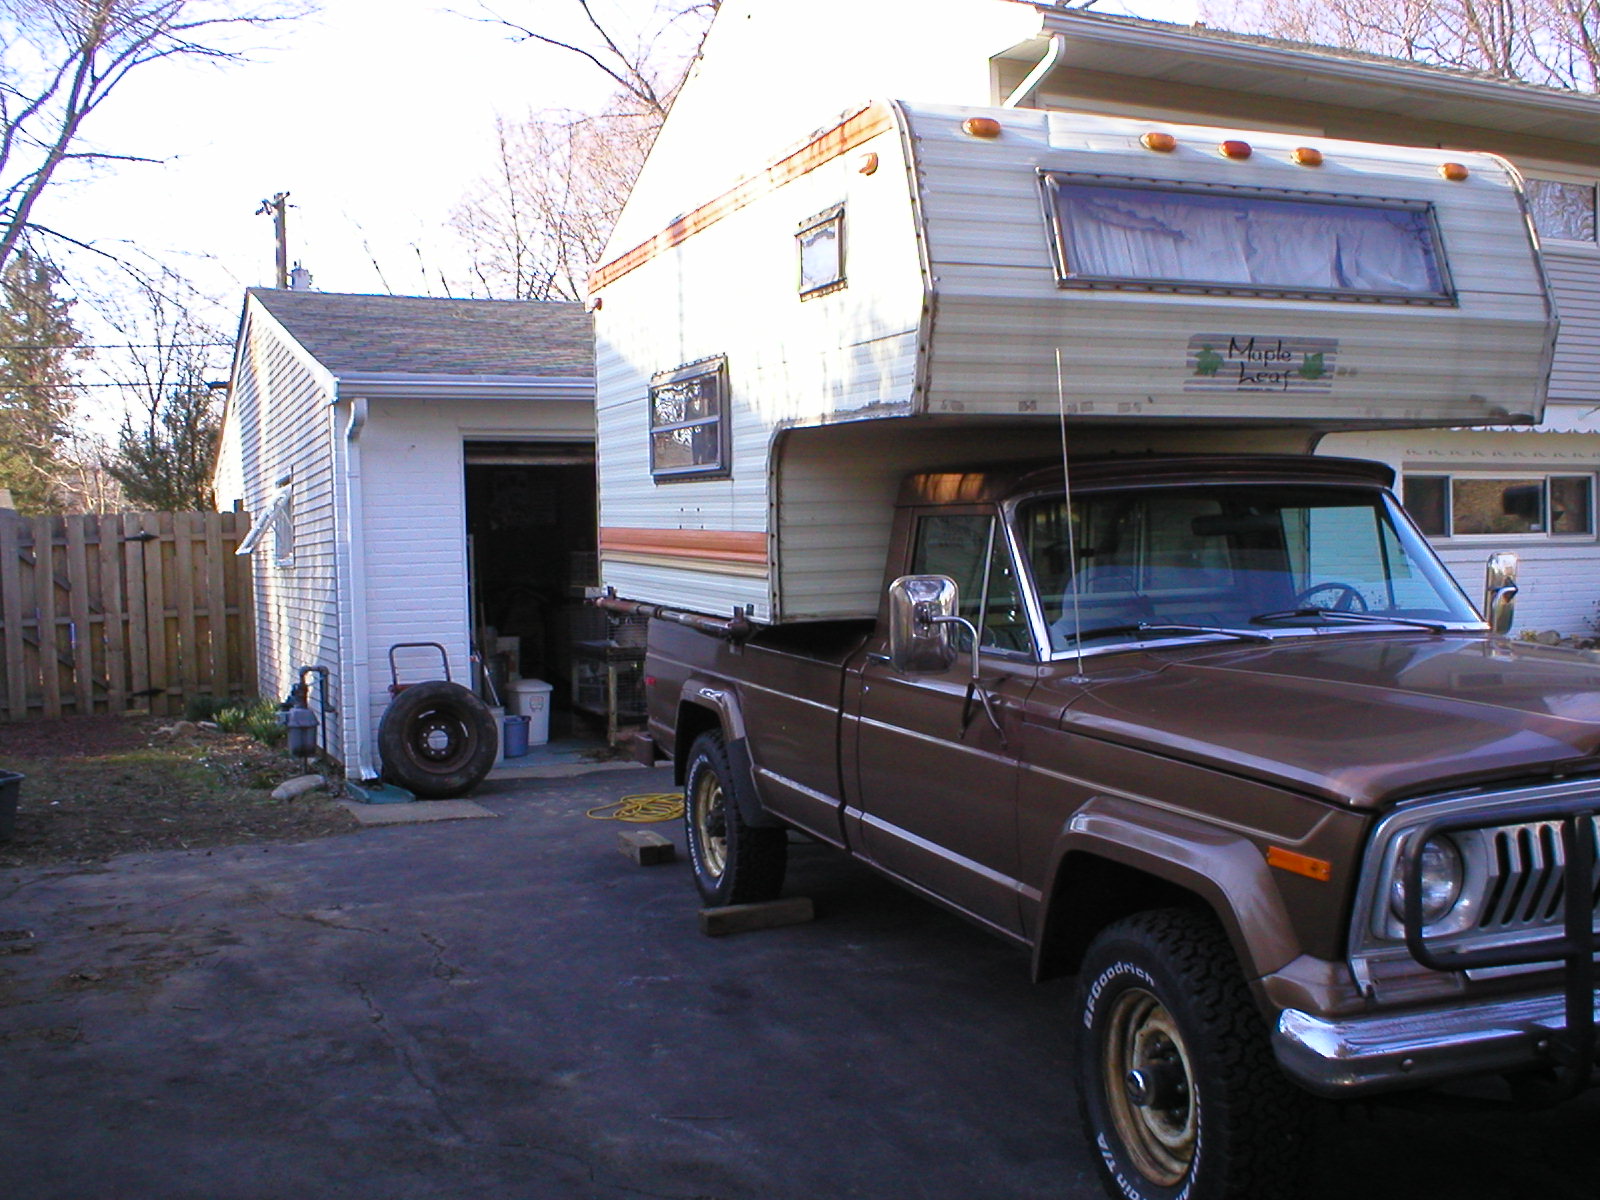
Camper tie downs for the Jeep J20
were finally found, purchased and installed from C.R. Brophy Machine Works I
have link to their site under Building Your Own Camper on the main page.
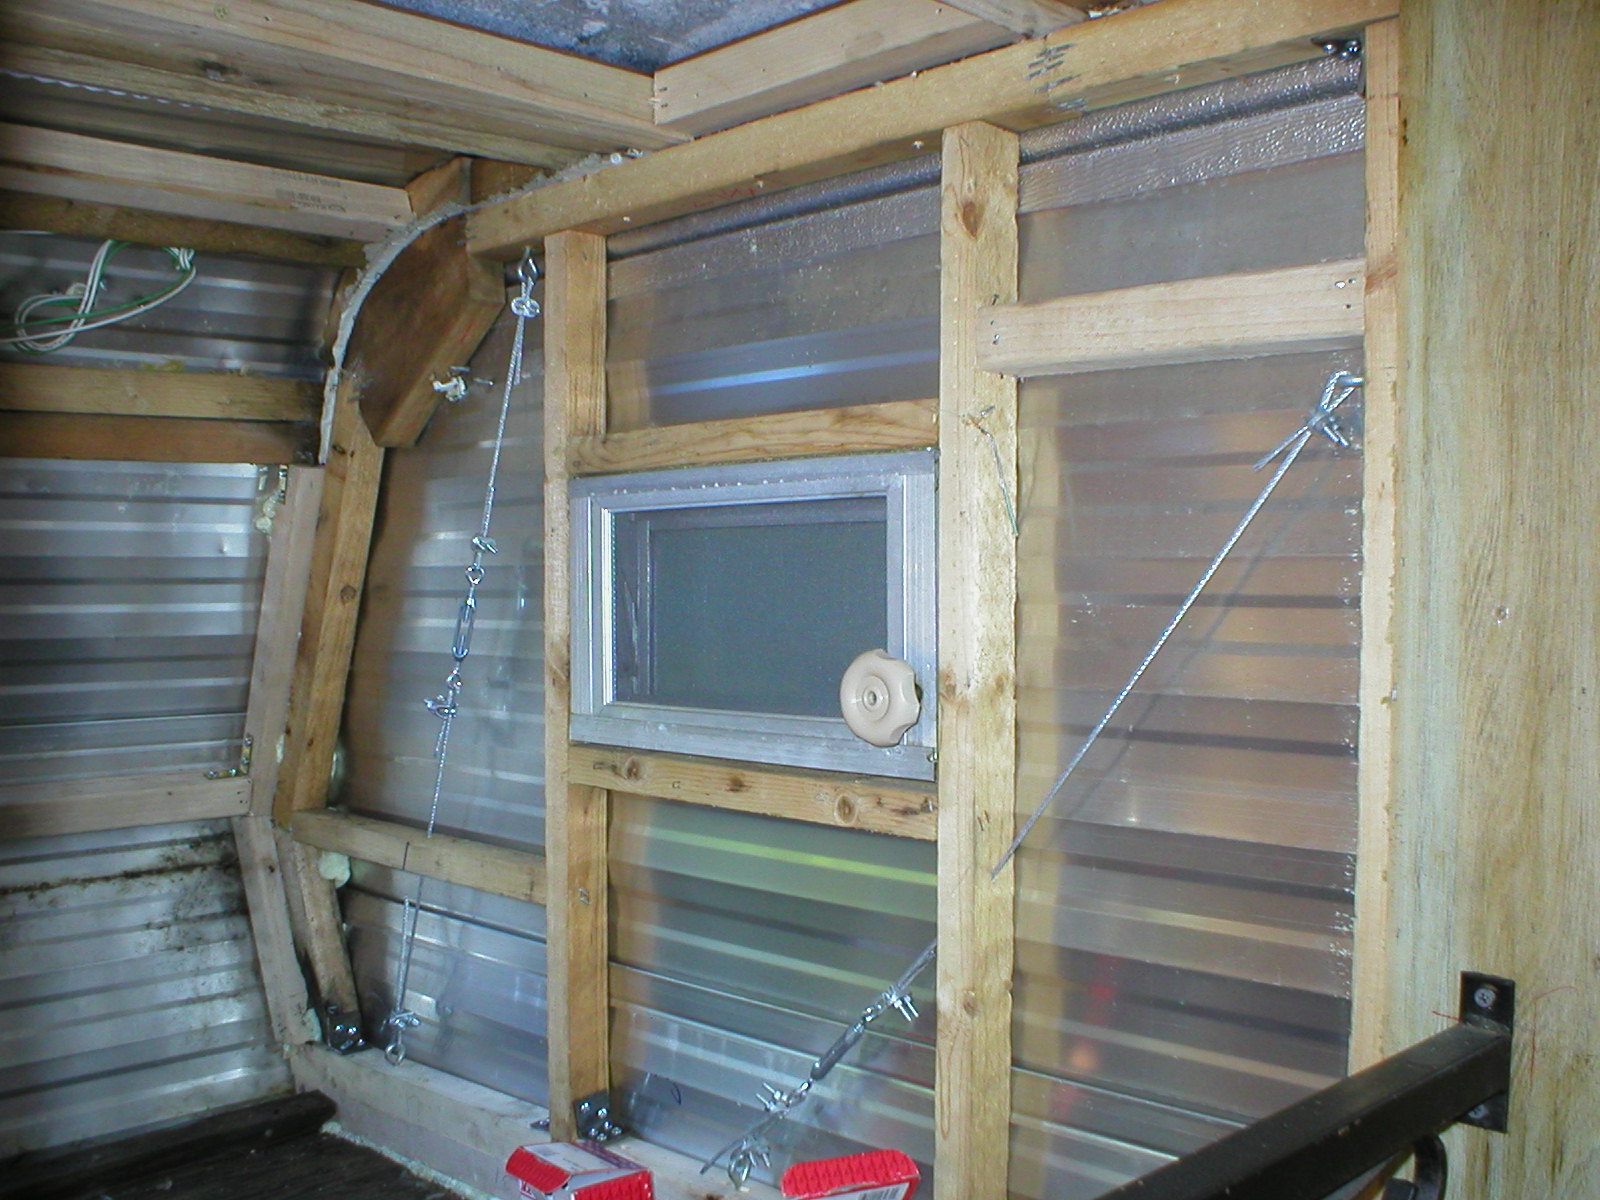
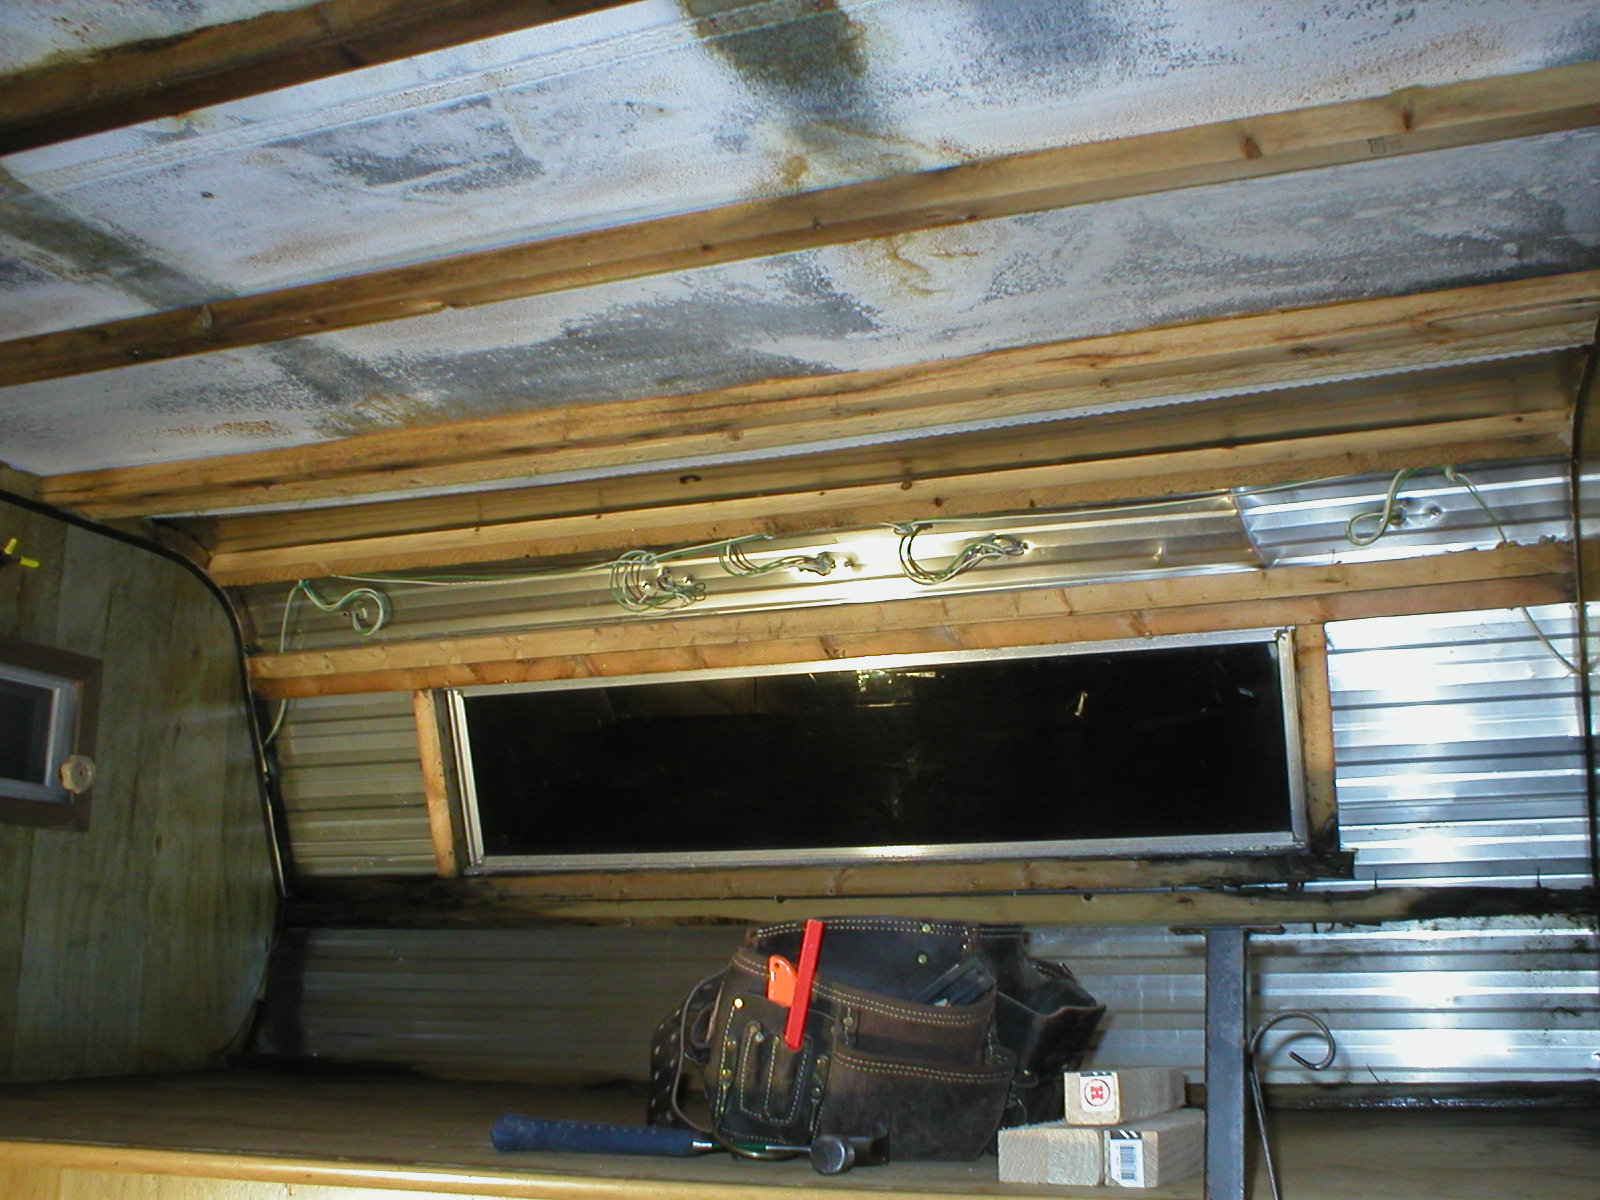
Side walls of Bed Over Cab were stripped down to replace water damage.
Reframed and added trusses made from steel cable and turnbuckles to strengthen
the BOC area. Large front window in BOC was removed and replaced. Window
framing used 1x2 framing from 2x4 stock that Mark ripped down on the table
saw. Window was cleaned up and a generous amount of fresh butel was laid
down then new screws were used to reinstall. After this a bead of silicon caulk
was used around the entire window. Screw covers (plastic trim which snaps into
the aluminum window frame) were purchased from our local RV dealer to
surround the screws. Additional was purchased for all window and door framing
and was installed it was missing after 30 years of neglect.
With
the framing and overhead electrical wiring out of the way Brad installed
insulation overhead in the roof and sidewalls of the BOC before the new
ceiling and BOC walls are put in place. Insulation designed for home exteriors
can be peeled down to size just be sure to wear a respirator mask the layers
peel apart rather easily off the fiberglass insulation rolls. You should be able
to get at least two layers from the roll doubling the sq. ft. coverage. It
should not be packed tight into the enclosed space anyway or it will loose it's
ability to trap air and the R value will be reduced.
A suburban 12,000
BTU propane fired furnace has been installed (compilments of an older Van camper
from the salvage yard). This began by running 3/8" copper plumbing from the
propane bottle closet located on the outside of the camper to the furnace. OPD
coupler and 2 stage regulator were purchased and installed and are housed in the
bottle closet as well. In addition a shutoff valve was installed inline just
before the furnace. The bottle closet had to be reinforced to support the weight
of the 20lb. tank and a bottle racheting tie-down was purchased from a fleet
truck supply center and installed to secure the tank inside the closet. The
furnace itself did not fire at first. The orafice in the gas distribution
manifold was obstructed by a very small amount of soot. This had to be reemed
and the firebox reinstalled and tested fired up like new, Ah heat. This will be
nice on those ealry spring and late fall camping trips.
Mark Jr. has
framed out a coat closet which is now installed aft of the camper.
Stay
Tuned -